Organizing Tool Cabinets
5th Jan 2023
A Simple Guide to Organizing Your Tool Cabinet
In auto repair and maintenance, the tools of the trade cost a pretty penny. It’s easy to drop $20,000 on all the wrenches, ratchets, sockets, scanners, power tools, and specialty kits you need to work on today’s cars. However, all those tools are worthless if you can’t find the ones you need in your cluttered tool cabinet.
Sure, you can hope the delivery truck will arrive at the exact moment you need a 1/4" newton meter adjustable click-type fixed ratchet torque wrench. But hope is not a strategy, and those wrenches are expensive. Like $400 worth of expensive.
A much better — and cheaper — approach is to organize your tool cabinet so you can find what you need when you need it. You’ll save time and money, you won’t have to borrow tools, and your tools will last longer because you’re storing them properly. On top of that, proper storage is better on your body if you design your space with ergonomics in mind.
The best way to organize a tool cabinet
Although we’ll share proven tips for organizing a tool cabinet, we should say at the outset that there’s not one single ideal method. Getting this job right is a mix of a lot of art and a little science (that’s where ergonomics comes in).
“You do you” is a good philosophy. If you can find the tools you need when you need them — and if both your tools and your body are protected — your system works, even if it doesn’t make sense to anyone else.
Look before you leap
If you’re excited about getting organized, great! But now’s not the time to start. Instead, take a few days (or longer) as you go about your daily routine to think through how you use your tools.
Which tools do you use most often? Which ones are always hard to find? What do you like about your current setup? What aspects could definitely use some work?
Ask yourself these questions and maybe jot the answers down on a notepad. By evaluating your current setup, you can avoid creating a new setup that’s not better, just different.
Items that might help the organization process:
- Tool cabinet
- Plastic bins
- Dividers
- Labels
1. Start with the big picture
Now, the fun begins. Spread out all your tools on your garage floor and group them by type or function. Put all the ratchets and sockets together, for example, or make a spot for oil filter wrenches, funnels, and the specialty products car makes like Toyota and Lexus require.
Where possible, create subgroups. For example, you’ll probably want to separate your metric and SAE wrenches. Ditto for sockets.
By the way, now is a good time to clean your tools and repair or discard any that are broken. You might even start a wish list of tools you’d like to upgrade.
Over in the corner, make a pile of tools you use maybe once or twice a year. There’s no reason for them to have pride of place in your newly organized tool cabinet. The same goes for duplicate tools. Plan to get rid of those tools or store them in a remote cabinet.

2. Map out your system
With all your tools at your feet, you’ll have a good idea of how much space each group will need. For example, wrenches might take up a whole drawer themselves, while hammers and mallets could share a drawer with pliers.
Next, decide how to organize each drawer. For example, you might put metric tools on the left and SAE tools on the right. And the tools might go from small to large as you move across.
Finally, think about how high or low your tools should go in the tool cabinet; this is where ergonomics comes in. Here are some guidelines to follow:
- Frequently used tools should be roughly between shoulder and waist height
- Average-use tools should be just above and/or below that level
- Large and heavy tools should be close to floor level, in part to keep the center of gravity low

3. Organize each drawer and shelf
After all this work, you may be tempted to just toss all your tools into their assigned drawers. While you may need to do that temporarily — you do need to get some actual work done eventually! — take the time to organize each drawer.
Depending on the type of tool in question, organize each drawer using plastic bins, dividers, or other organizers. If you’re feeling crafty, create custom foam drawer inserts to keep your tools in place. (By creating two-layer inserts with a bright color on the bottom, you’ll be able to easily spot missing tools.) Magnetic organizers can keep sockets and other small items in their assigned spots.
Label both the front of each drawer and the different sections inside. This will help if you need to send a coworker to grab a tool. This is another place color can come in handy; using different colors for metric and SAE tools makes it easier to spot the right section.
Other organizing tips
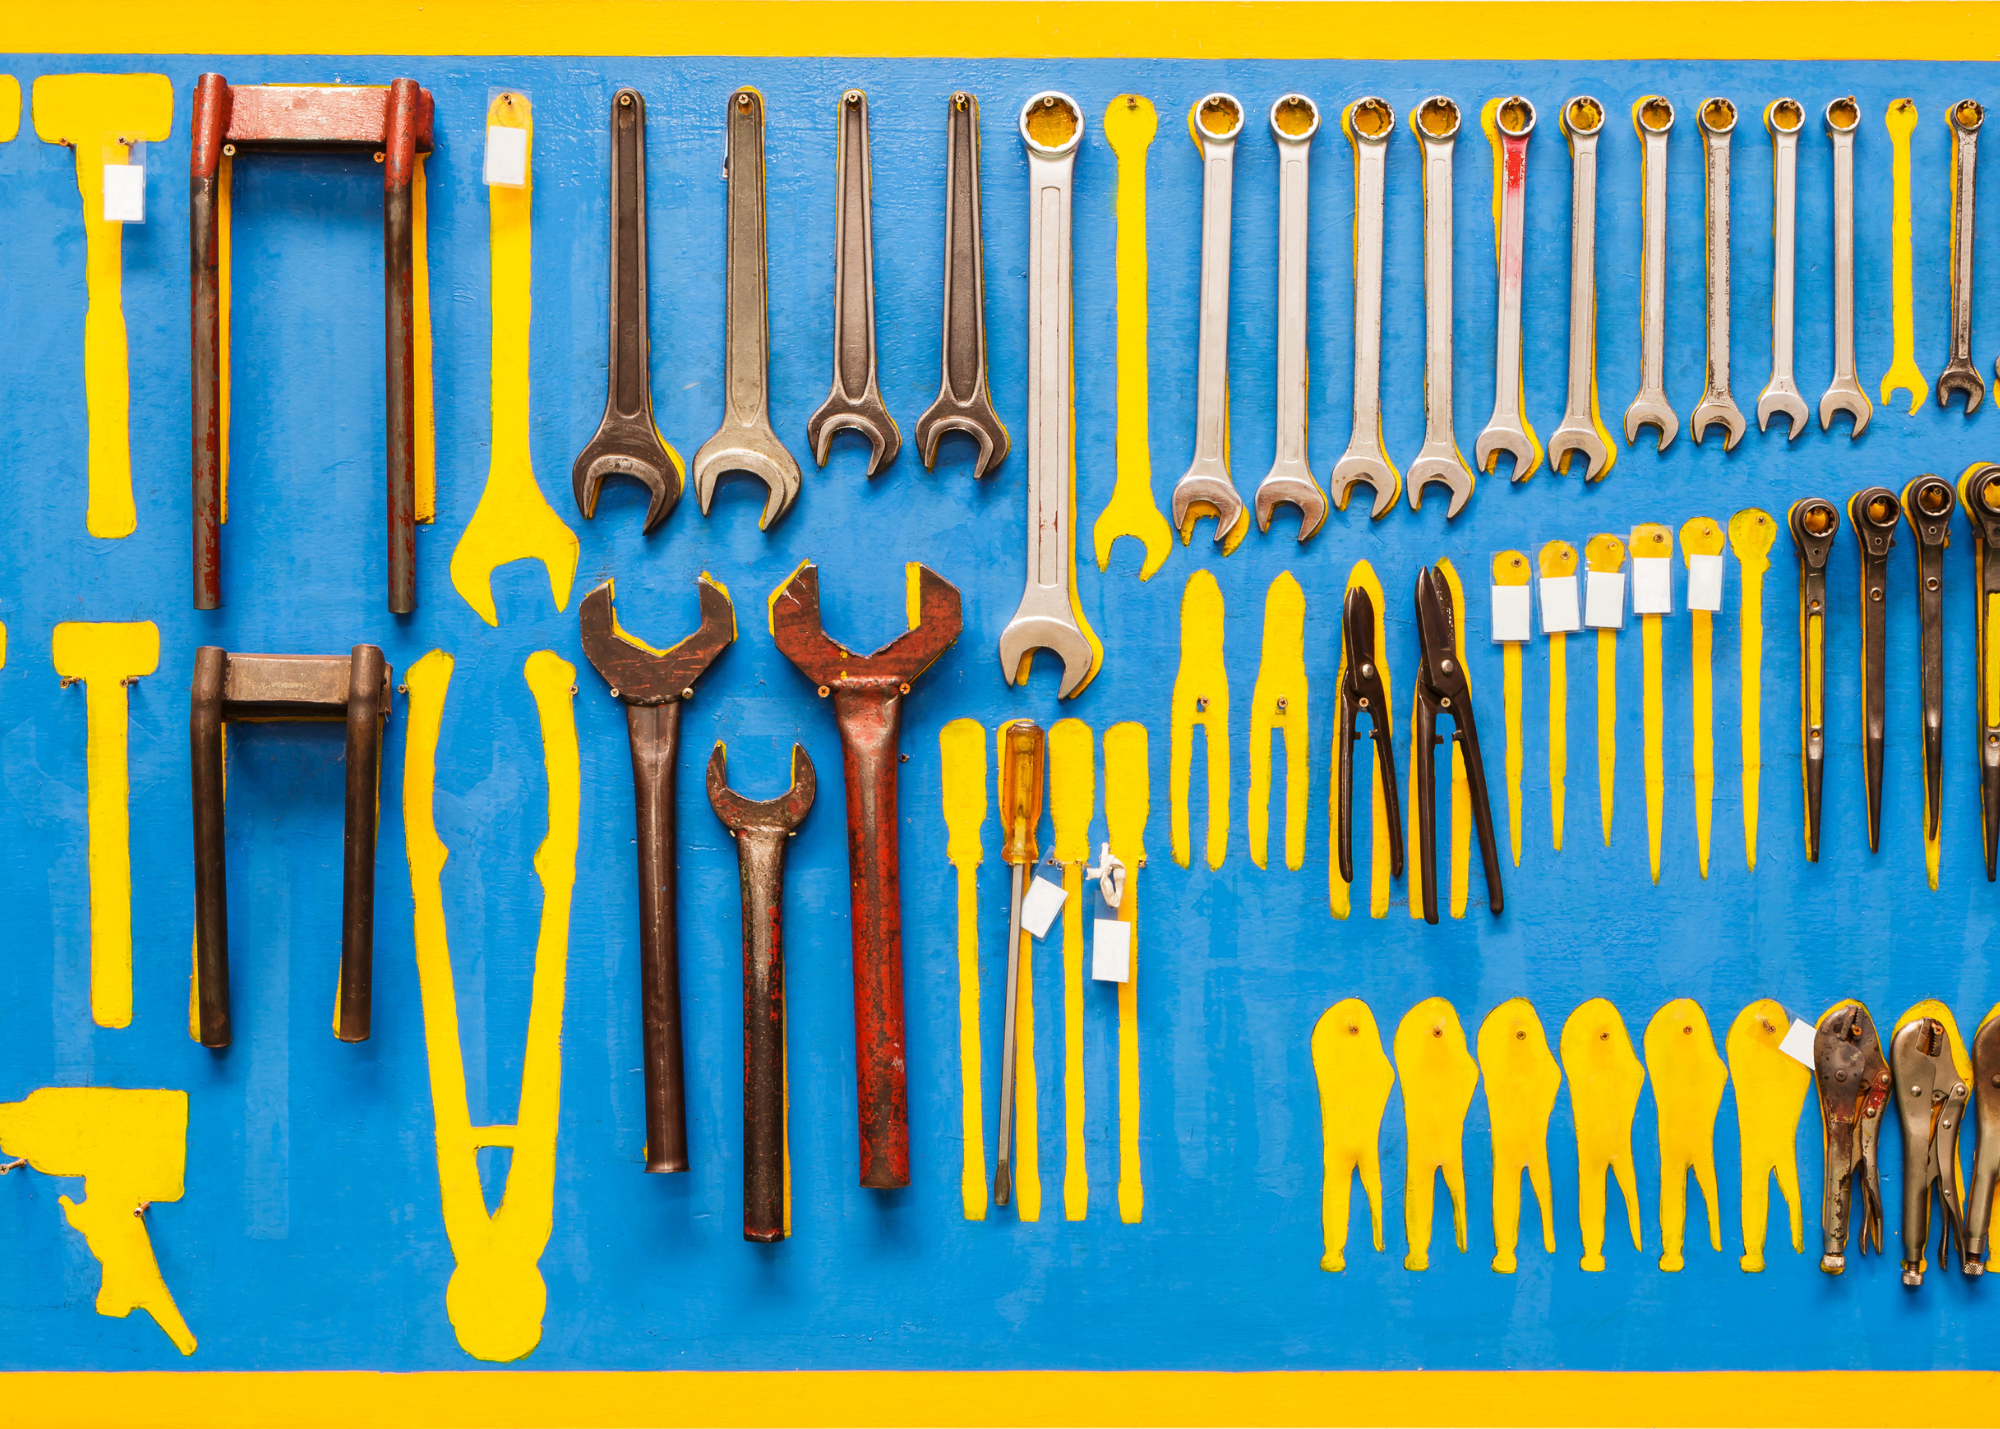
If you have open wall space nearby, maximize it with a pegboard. That’s a good way to keep your most frequently used tools close at hand, and you can add small shelves for containers of items like valve stem covers.
Try to keep countertops as clear as possible. (That should be easier now that every tool has a home.) That leaves you space to work. Plus, some tool cabinets feature integrated USB ports and electrical outlets.
Finally, commit to keeping your tool cabinet organized. Put tools back at the end of each day, and continue to tweak your system until you’re 100% satisfied.


 US Dollar